How to Choose the Perfect Safety Eye Placement for Amigurumi
The expression of your amigurumi can make or break its final look. For each expression, I like to start with the eyes. Eye placements that are too close together might feel crowded and unnatural, while eyes that are placed too far apart might feel unbalanced and look distorted. Whether you want your crochet plush to look cute, mischievous, or sweet, where you place the eyes plays a role in the final expression.
In this post, we’ll cover everything you need to know about safety eye placement. We’ll start by understanding proportions and finish with how to avoid common mistakes. By the end, you’ll feel confident placing safety eyes to create the perfect expression for your next plush.
What are Safety Eyes?
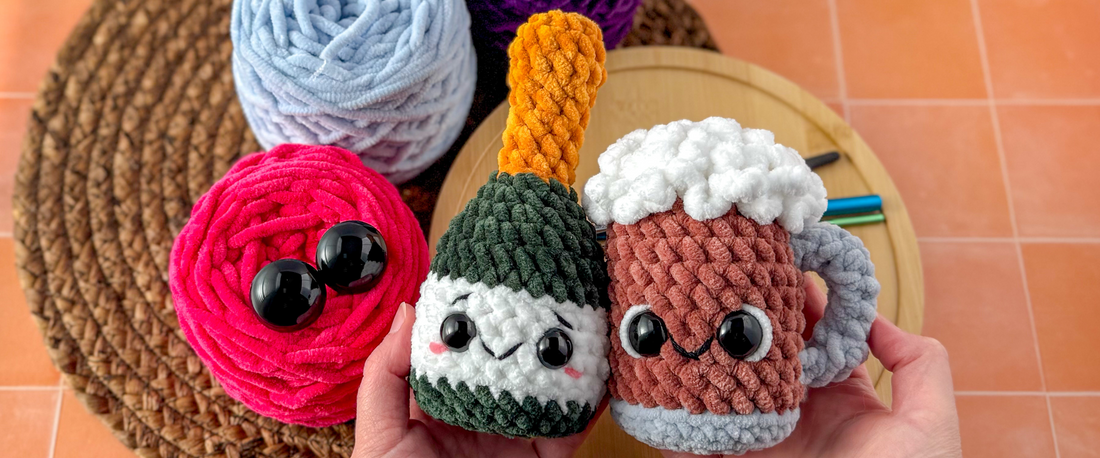
One of the most common ways to add eyes to amigurumi is by using pre-made plastic or glass safety eyes. These are typically round (most commonly black) and have a post on the back, which is inserted from front to back and secured with a plastic washer.
Why Safety Eye Placement and Size Matters
Eyes are a crucial focal point in amigurumi. They evoke emotion, shape perception, and bring character to your plush. Facial expressions give your amigurumi character and create a sense of connection with the toy.
Placing the eyes closer together creates a more baby-like or kawaii feel. This can evoke a sense of innocence.

Along with placement, the size of the eyes affects the overall expression. Larger eyes create a more expressive face—happy faces look even happier with oversized eyes, and angry faces can look even angrier.
You may have noticed that most modern commercial toys for children have large oversized eyes. It’s commonly believed that larger eyes are cuter and trigger caring instincts. This concept, known as baby schema in psychology, explains why large eyes make things appear more endearing to humans.
Smaller eyes or eyes placed further apart create a more neutral or mature expression, sometimes even giving a more introverted or calculated appearance.
Tips for Placing Safety Eyes
Consider the shape of the head.
Since many of my patterns aren’t based on humans or animals, the term ‘head’ might not always apply in a literal sense. When placing eyes, I focus on two key factors: the center and the widest part of the plush. Sometimes these two considerations are the same, such as this Easter Basket. Other times, I choose the center but not the widest portion, like with this Watermelon.

Eye Size vs. Head Size.
Choosing the right proportion is an important factor. I tend to gravitate toward larger eyes, with a closer placement. But I’m limited to the surface area of the plush. For my Minis, I mostly use 18mm eyes. Any larger and the toy would start to look distorted and the eye placement would feel too close together.

Placement on the face.
Instead of using standard human-like guidelines, I place the eyes based on how much space the plush has available and the expression I want to achieve. For a cute, exaggerated look, I often place the eyes lower on the face to make the face appear larger and give a more adorable look.

Even or Asymmetrical?
Symmetry is the go-to, but some crafters love playing with asymmetry to give their plush a little extra personality—think slightly offset eyes or different sizes. Totally optional, but super fun to experiment with.
Common Mistakes to Avoid
- Too close together: Might make the plush look cross-eyed, confused, or overly serious.
- Too far apart: Can give a vacant expression due to excess space in between the eyes. (Though this may be intentional for certain animals like frogs or birds.)
- Wrong placement for the pattern style: Some patterns are designed with a specific expression in mind. Changing the eye size or placement could alter the intended look. For example, chibi-style amigurumi typically have wide-set, lower eyes. Adjusting this can unintentionally shift the vibe.
- Forgetting to test before securing: Make sure you’re happy with the placement before locking the backs in place! The washers aren’t made to be removed easily, and trying to take them off may damage or break your eyes.
Safety Considerations
The term “safety eyes” can be misleading. These are not safe for children who still put things in their mouths. Consider using embroidered, felt, or crochet eyes for children under three years old. If a safety eye becomes loose, it can pose a serious choking hazard.
Always check that the backs are securely in place. Some makers even glue the eyes in for extra hold. Others heat the post slightly to flatten it over the washer and prevent loosening.
If you're crafting for a young child—or just prefer a softer look—embroidered eyes are a great alternative.
Conclusion
Getting the right placement for your safety eyes can make a big impact when bringing your amigurumi plush to life. So, remember these key takeaways:
- Think about the expression you’re going for—larger, closer eyes tend to look younger and cuter; smaller, wider-set eyes create a more mature look.
- Test before you secure! Use pins or markers to experiment with placement first.
- Match eye size to the head for balanced proportions.
- Symmetry is common, but asymmetry can be adorable when done with intention.
The best way to find your favorite style is to experiment! Try new placements on your next plush and see how the expression changes. And if you’ve played around with eye placement using my patterns, tag me on Instagram—I’d love to see what you’ve created!


